Contents
- Index
Getting Started (General steps to use Docs2Manage)
Before you use the main Docs2Manage (D2M) program, you may want to use the Configuration program to edit the settings or database connections this program will use, but by default D2M will connect to the provided MS Access blank or sample databases.
When you first load the main program, you may consider setting up the security layer D2M will implement using the options under the Security menu. This will display or hide many of the controls and features in D2M for the various types of users you may have per your security needs. Please read about this in the Security and D2M section of the help file.
Before you start adding documents to the system, you want to consider how and where you want to store the documents. By default Docs2Manage will store your documents in a folder named "Docs" in the Docs2Manage program folder. If you are using any other database besides the provided MS Access database, Docs2Manage will default to use the database to store documents and files. However, it would be preferred if you change this setting to use a file structure for better performance. If you plan to use a file structure on a network, a file share is the preferred file structure or you can use a file directory if you want the documents to be stored locally or you want to use a directory on a file server that is already mapped and authenticated on your local machine. This setting is discussed in detail in the Groups, Document Storage, and Users section of this help file.
Also, you may want to customize the fields used to classify the document before you begin entering documents. You may display up to six classifying fields which you customize in the Field Manager. These are also all the fields that can be searched by using the Search button located on the main toolbar. If you need more than the six classifying fields, please read the Adding and Using Additional User Fields section. Remember most of the classifying will be done using the folder structure in the Document Explorer view, so try to avoid adding to many classifying fields. This will only create more work for the user who is entering the documents.
Create a Folder Structure
When you first enter D2M, you will see the Document Explorer View where you will create a folder structure where documents may be placed and stored. You must create at least one folder.

To add a Folder:
1. Click the New Folder button on the main tool bar.
2. Customize the Folder name in the Document Explorer.
3. Add additional folders by repeating steps 1-2.
To add a Sub-Folder:
1. Select the Folder to create a sub-folder under.
2. Click the down arrow button next to the New Folder button on the main tool bar.
3. Click New Sub-Folder from the drop-down list.
4. Customize the Sub-Folder name in the Document Explorer.
5. Add additional sub-folders by repeating steps 1-2.
Alternatively, you may right-click the Document Explorer area instead of using the main tool bar to create, rename, and delete folders.
Enter Document Information
Once you have defined your folder structure, you are ready to add your first document. First select the folder you want the document to appear in. Next, either click "Scan" button or "Import" button to import an existing file on the main toolbar. This will open a dialog where you can enter the information about the document you are about to add.

Add Pages to a Document
After you have entered information about a document, click the "Scan Pages" or "Add Pages" button on the bottom of the form.

If scanning:
1. The scanning interface will display.
2. Load the scanner with your document and press the scan button.
3. The scanner interface will remain open to allow you to add many sets of pages. Press cancel or close to close the scanning interface.
4. The document should appear in the document grid unless you categorized the document in a different folder.
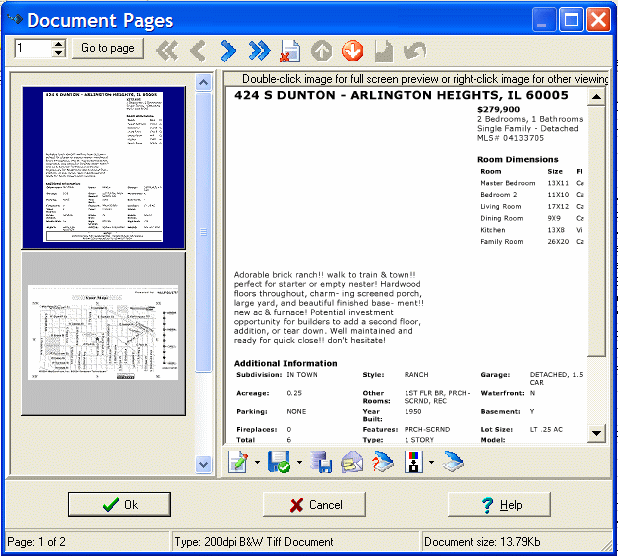
NOTE: D2M assumes you do not need to see the document you just scanned. If you do want to see what you just scanned, double-click the document record in the grid or press [F12] to display the Pages Form. You can also do this if you need to add more pages to this document at a later time.
If importing:
1.
2. Click Import Document(s) from File button toward the bottom of the page.
3. Select desired file(s) and click Open button. The new pages will appear in the thumbnail or grid view of the form.
4. To save time, you can also drag-and-drop files into D2M.
5. Use the Document Image Data Navigator at the top of the form to navigate page-to-page, change the order of pages, or delete pages.
6. Click OK button when you are finished.
While in D2M, additional help is available by setting focus on the control or field you need help with and pressing the <F1> key.
..


